How to load an existing spring maven project in IntelliJ
Here is a simple step by step instruction on how to load a spring maven project on intelliJ.
By Shamir
14/06/2024
Things are easier to learn when you try hands-own. In this blog, we will take a sample project from github and load into our IntelliJ IDE.
- Get a sample project.We will use this Github repo for the same. Clone the repo using git clone command.git clone https://github.com/LinkedInLearning/spring-spring-data-2-2508603.git
- Open IntelliJ IDE. Now, open the project using, File -> New -> Project from existing sources... . Now, it would open as shown below.

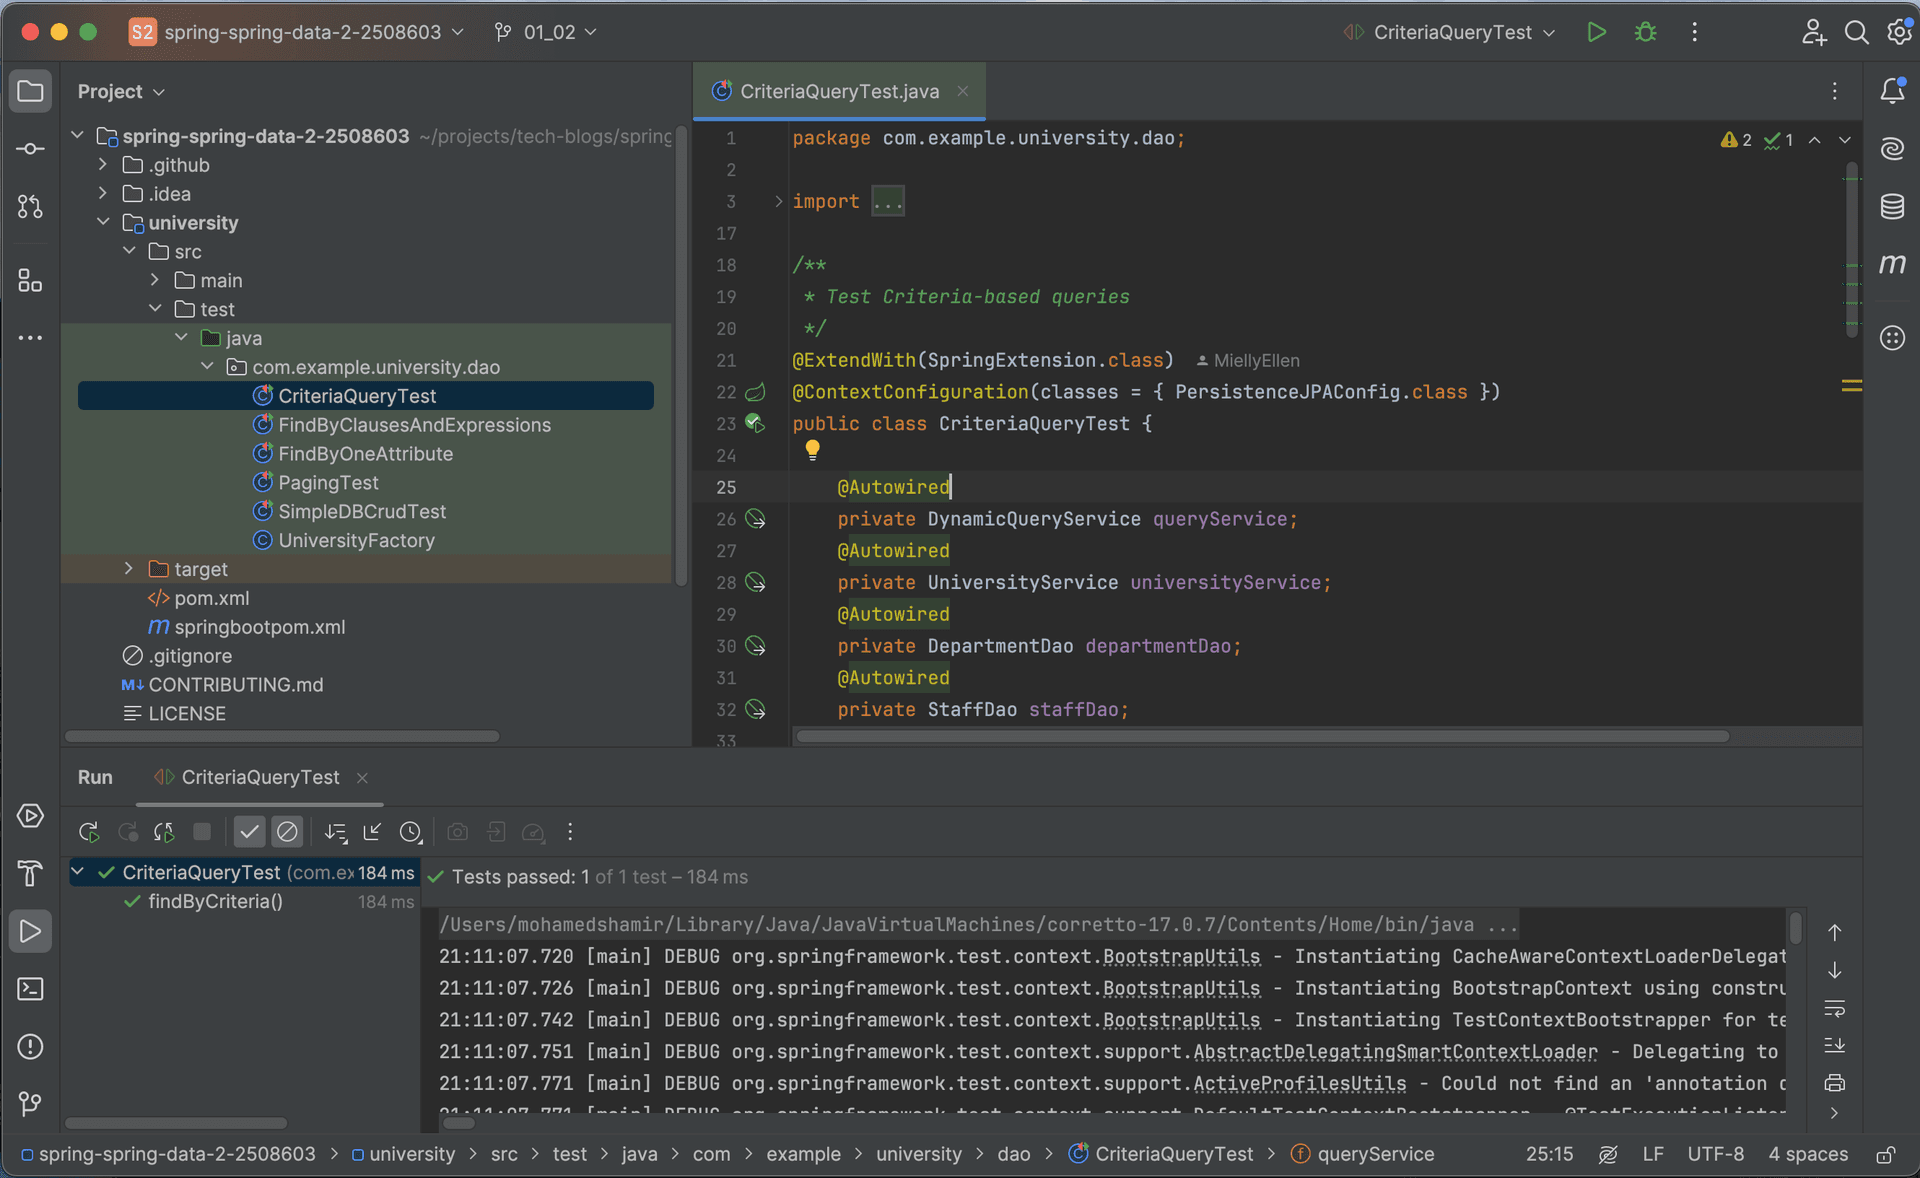
- Now in intelliJ terminal, Checkout branch 01_02.The project file for this exercise is in this particular branch. A new directory named university would have appeared on the project explorer on the left side as show below.git checkout -t origin/01_02

- Find pom.xml file in the directory and right click on pom.xml file. In this project the pom file is named as, springbootpom.xml. You can see an option named Add as maven project (as shown in figure below). Click that, and your project setup is complete.

- Try running a test case to see everything is setup correctly.
